Half Batch of Pecan Buttercrunch
I’ve always been a fan of toffee — one Christmas I received a big can of Almond Roca in my stocking and thought I had hit the jackpot — but never considered making it at home. Candy thermometer? Tempering chocolate? Forget it. But, we are in the Confections section of my Chocolate and Showpiece class and toffee was on the docket.
It turns out it’s not so hard. To eliminate any stress, though, I do recommend a candy thermometer. They’re fairly inexpensive and sugar is extremely temperature sensitive — a few degrees difference in heat makes an enormous difference in the outcome of your confection.
As for the tempering, you can sidestep any of the rigamarole associated with large-batch tempering, which can be very touchy for even a moderately experienced baker, by using a shortcut. Here’s the thing about the shortcut, though — you have to do it as described. Don’t shortcut the shortcut.
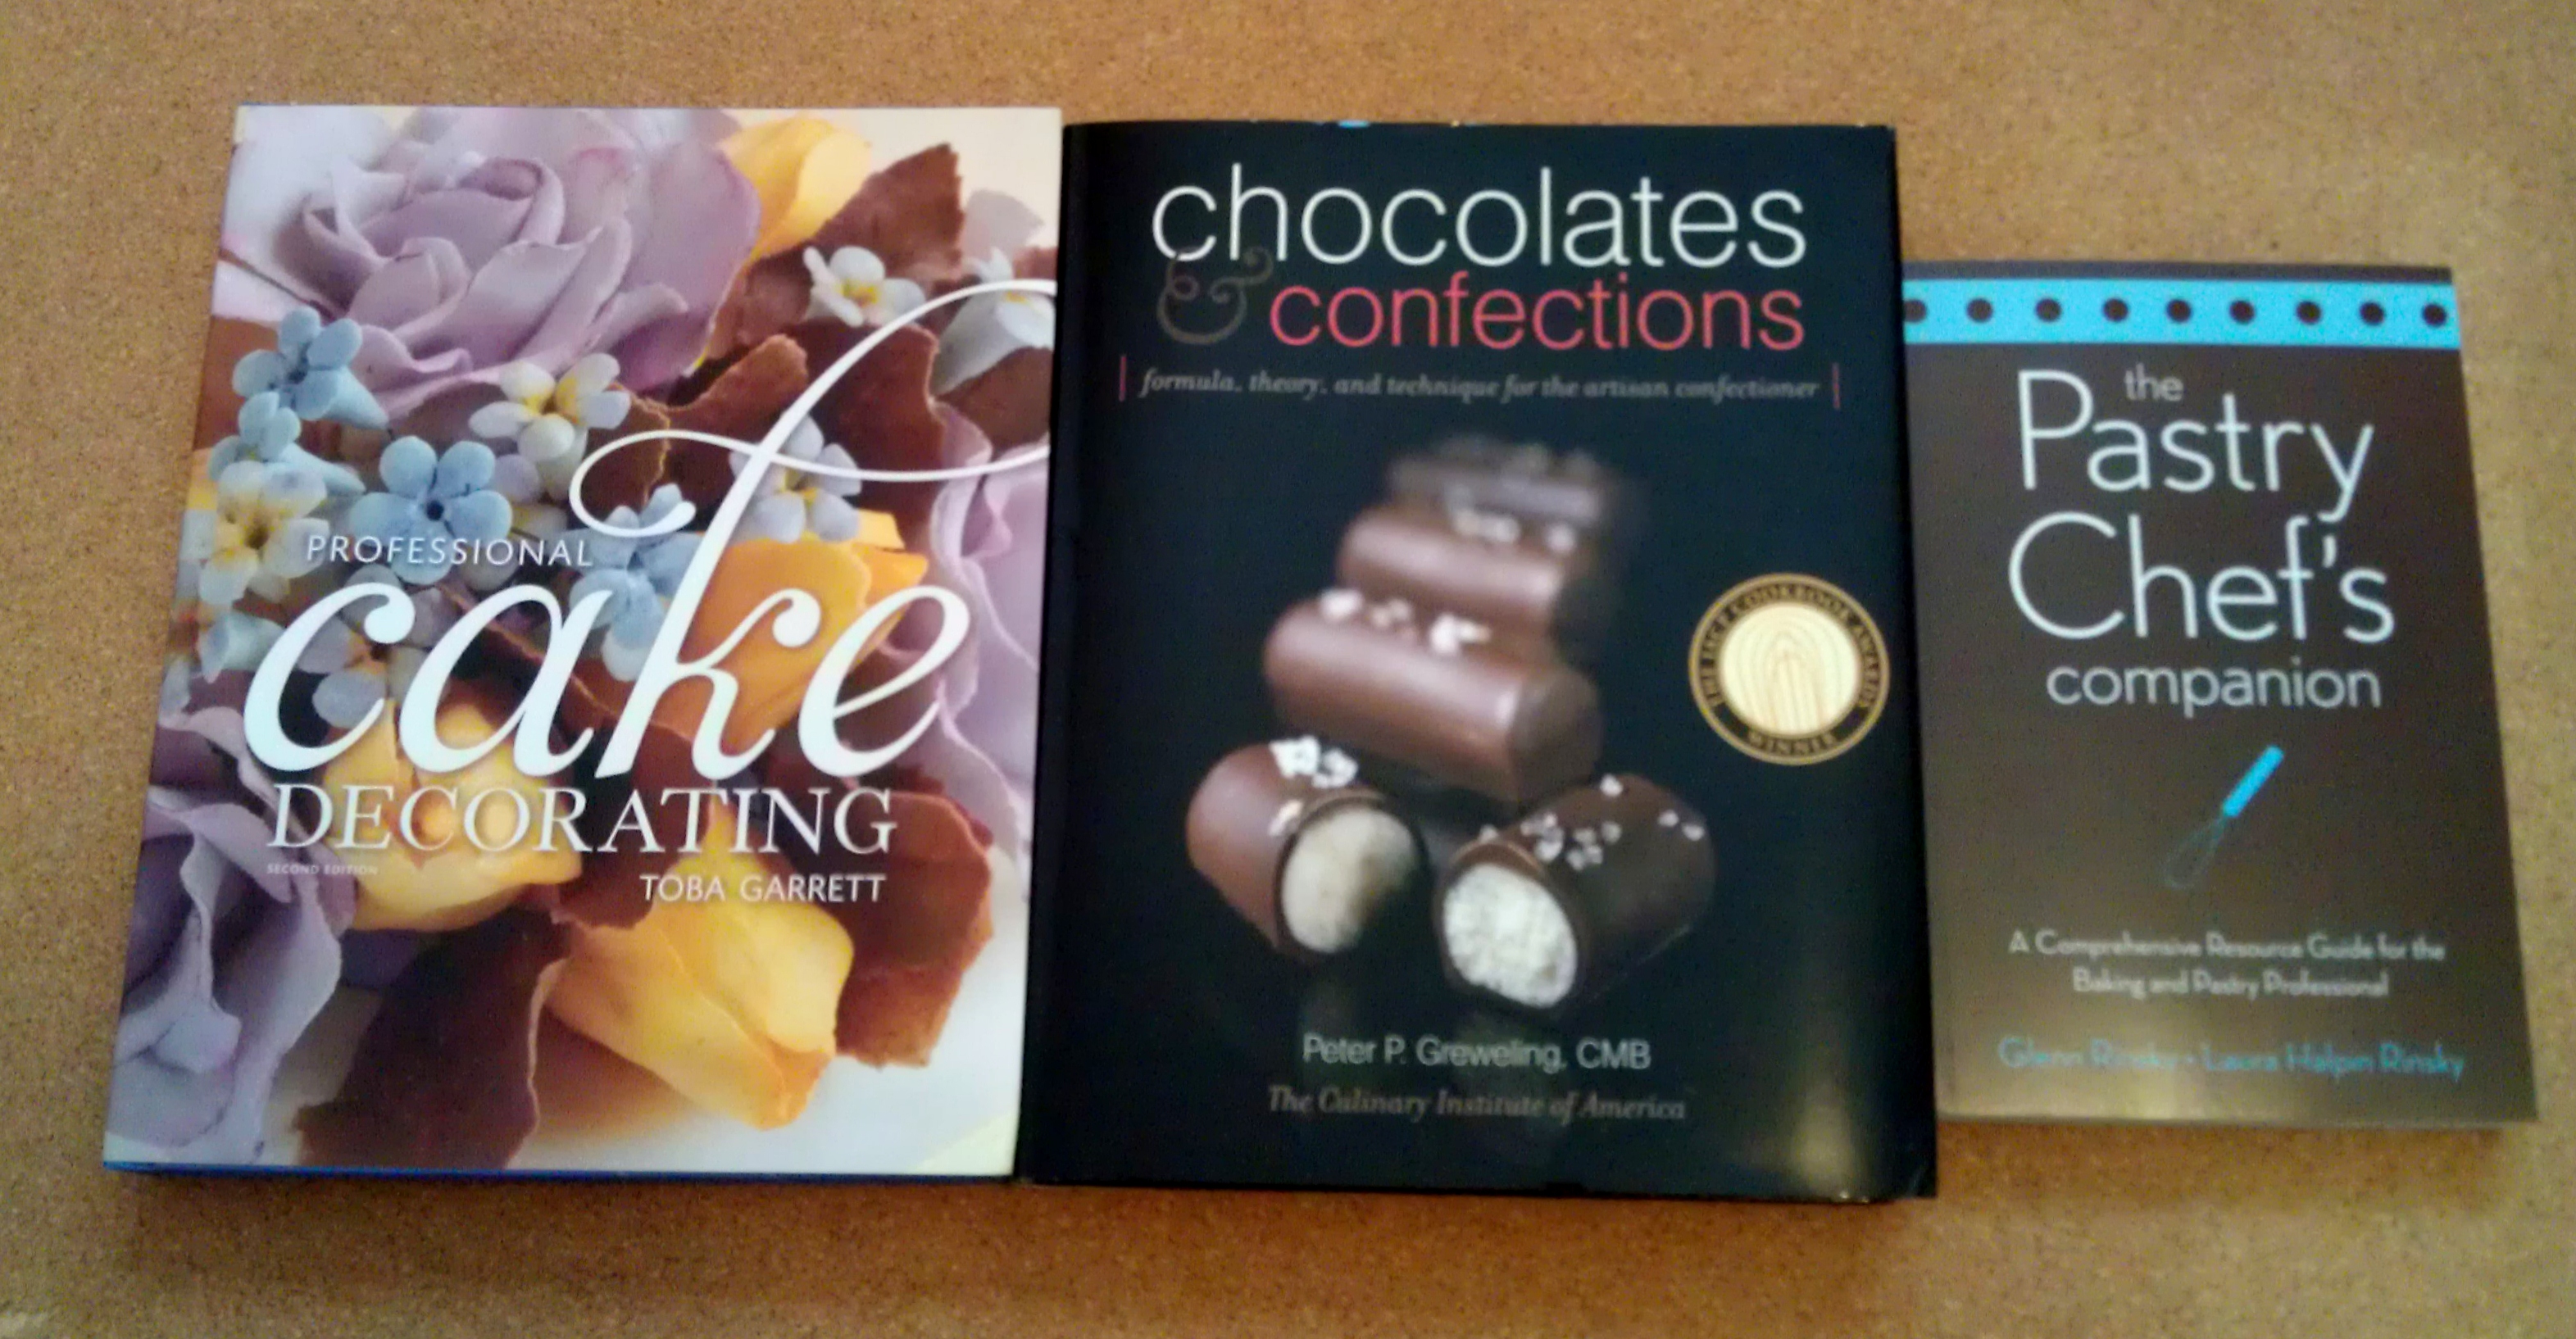
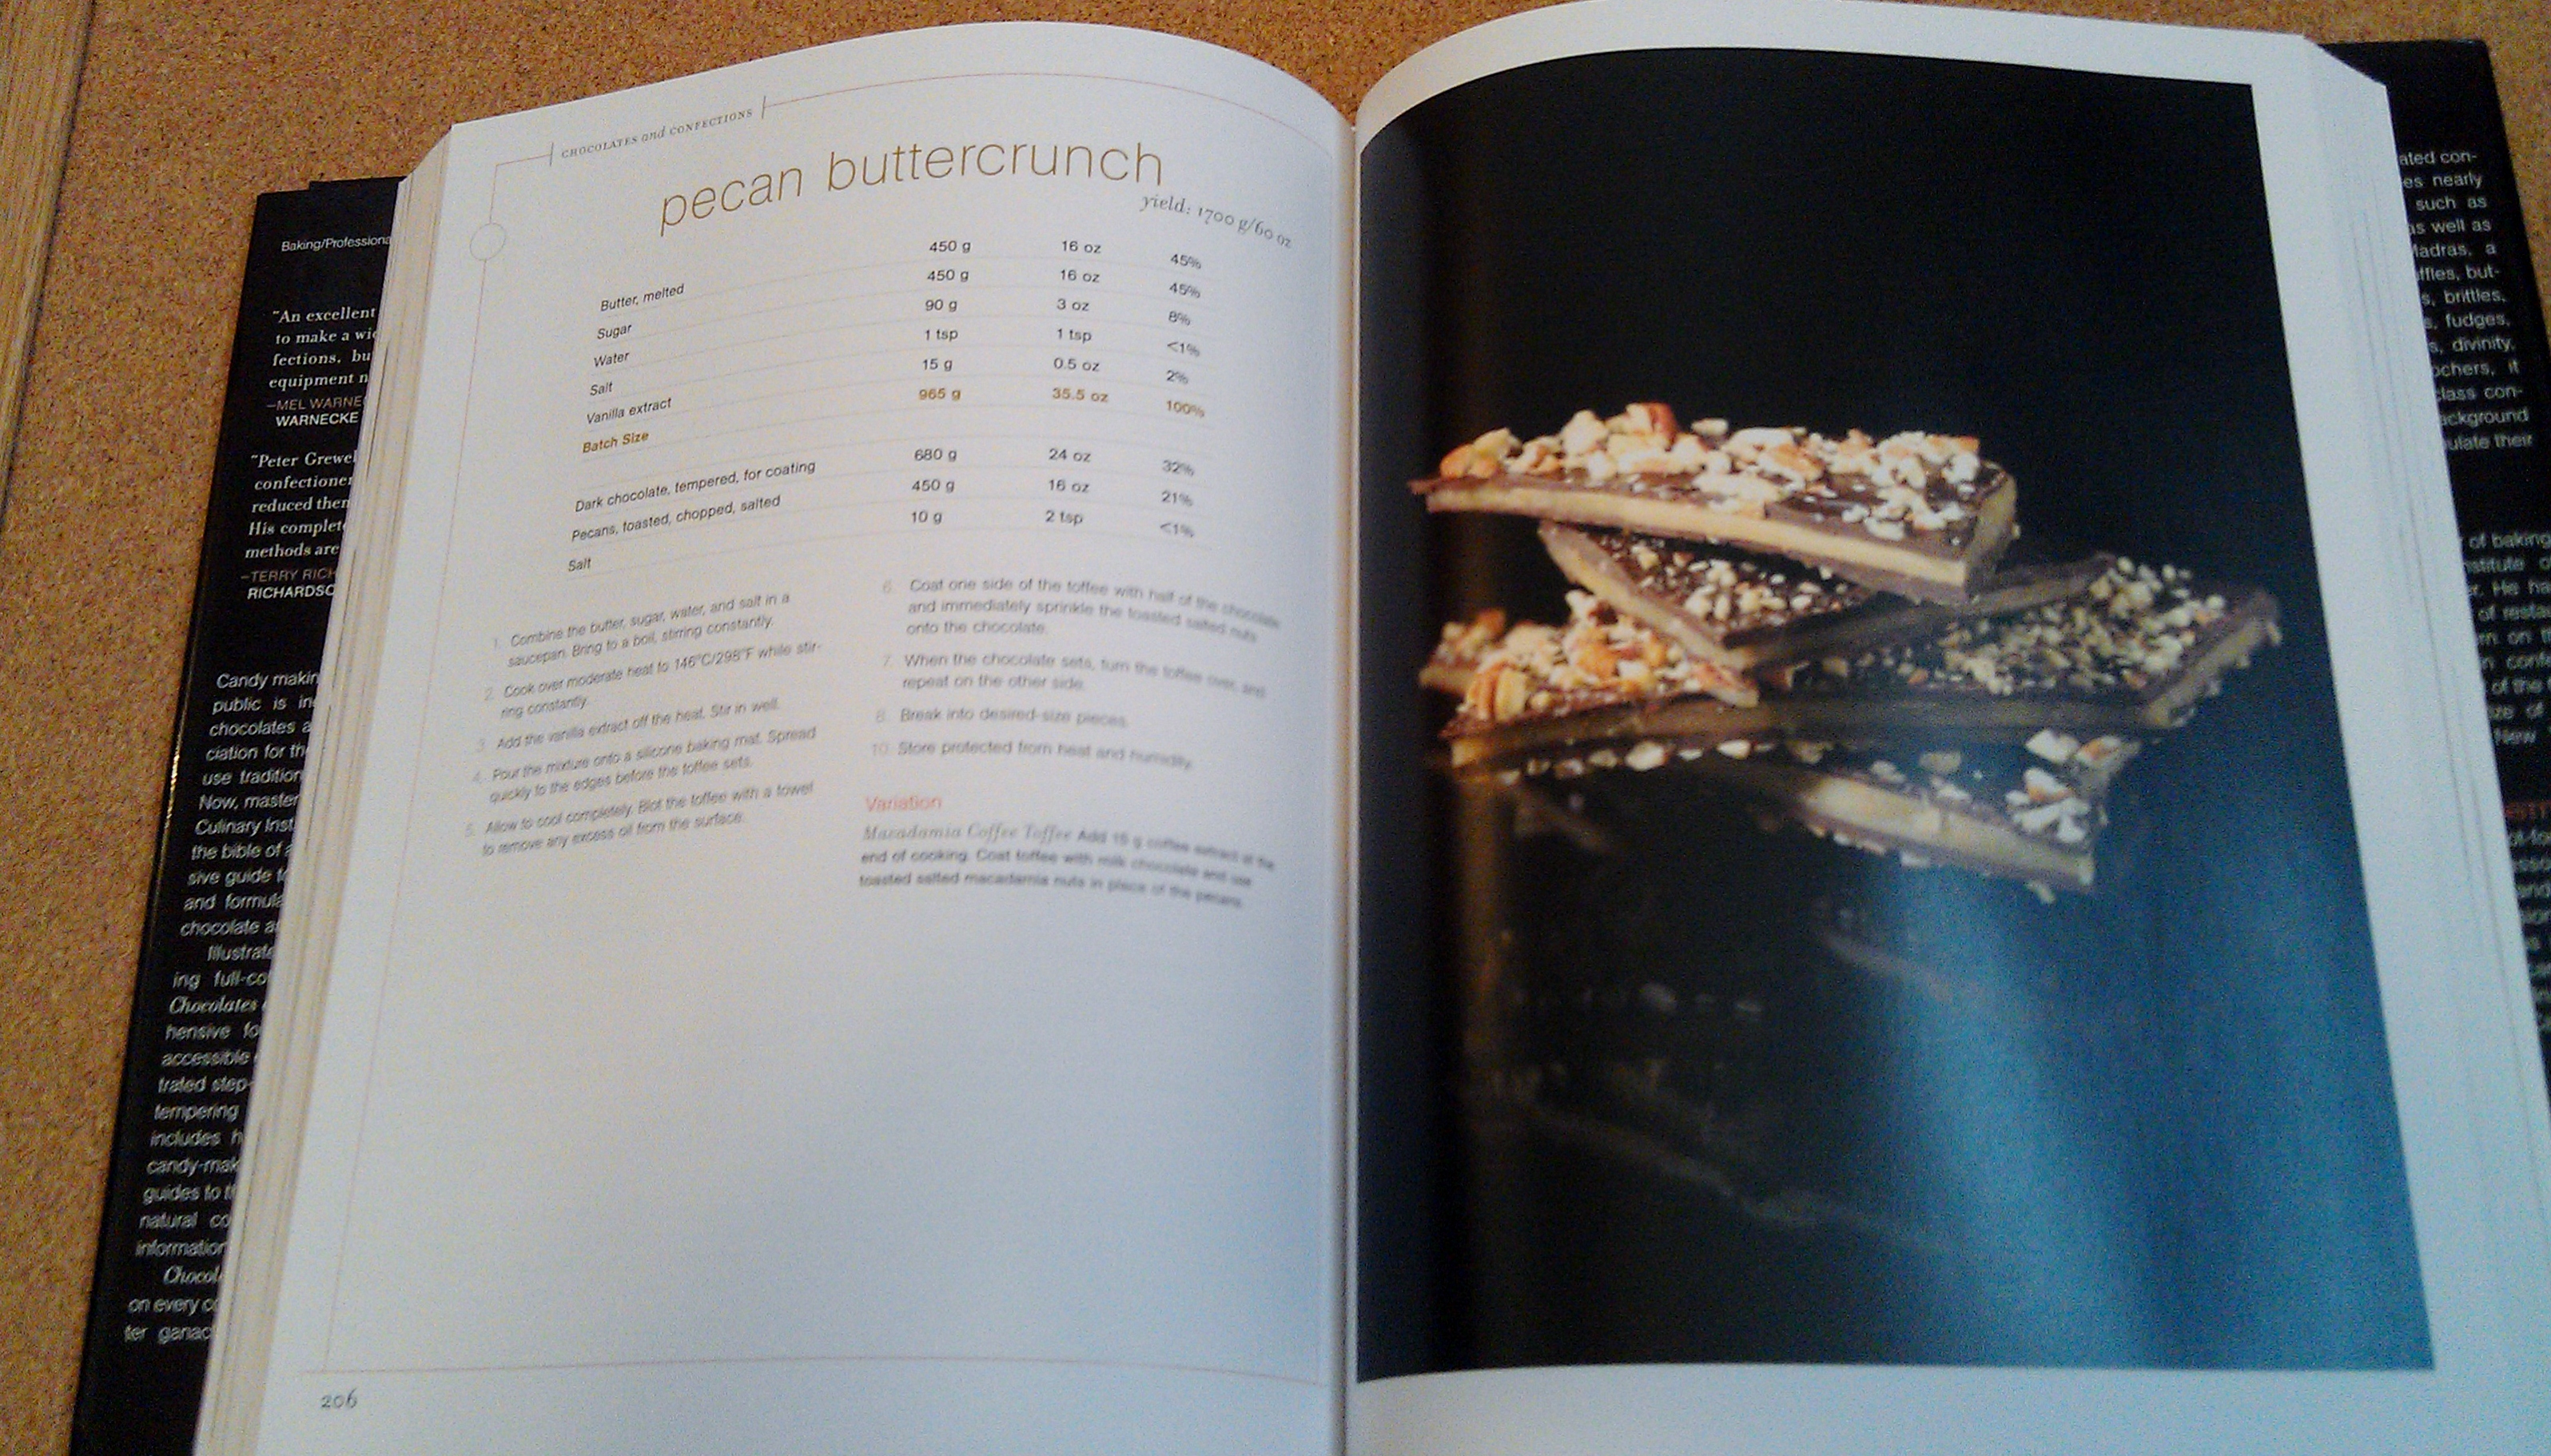
This recipe is adapted from Chocolates and Confections by Peter P. Greweling, CMB. Chef Greweling, an instructor at The Culinary Institute of America, is quite precise in his discussions about chocolates and confections. The depth with which he discusses the topics might seem intimidating but the photographs, which are gorgeous, are inspiring.
The recipe is written to yield 60 oz., which is quite a bit of toffee for an average person. We made a half-batch in class, split it between two people, and both had a decent amount to take home with us.
We also only coated one side of the toffee in chocolate — easier, faster, and quite sufficient — which means that if you only want to coat one side with chocolate you would want to cut the amount of chocolate, nuts, and the salt for the nuts (not the salt for the toffee mixture) in half for a whole batch, or quarter it for a half-batch.
Pecan Buttercrunch
Yield: 60 oz.
16 oz. butter, melted
16 oz. sugar
3 oz. water
1 tbsp. vanilla
24 oz. dark chocolate, tempered (see below), for coating — use bars, not chips
16 oz. pecans, or other nut, toasted, chopped and salted
2 tsp. salt
Instructions:
Note: Have a silicone baking mat and an off-set spatula or rubber spatula laid out and ready for the hot toffee when it comes off the stove. You will need to work very quickly to get it out of the pan and spread smoothly on the mat before it cools.
Combine the butter, sugar, water, and salt in a saucepan. Bring to a boil, stirring constantly.
Once it comes to a boil, continue cooking over moderate heat to 298 degrees Farenheit while stirring constantly. Do not be concerned if the sugar seems to sit at a certain temperature without budging for awhile. Just keep stirring and watching — the temperature will shoot up suddenly.
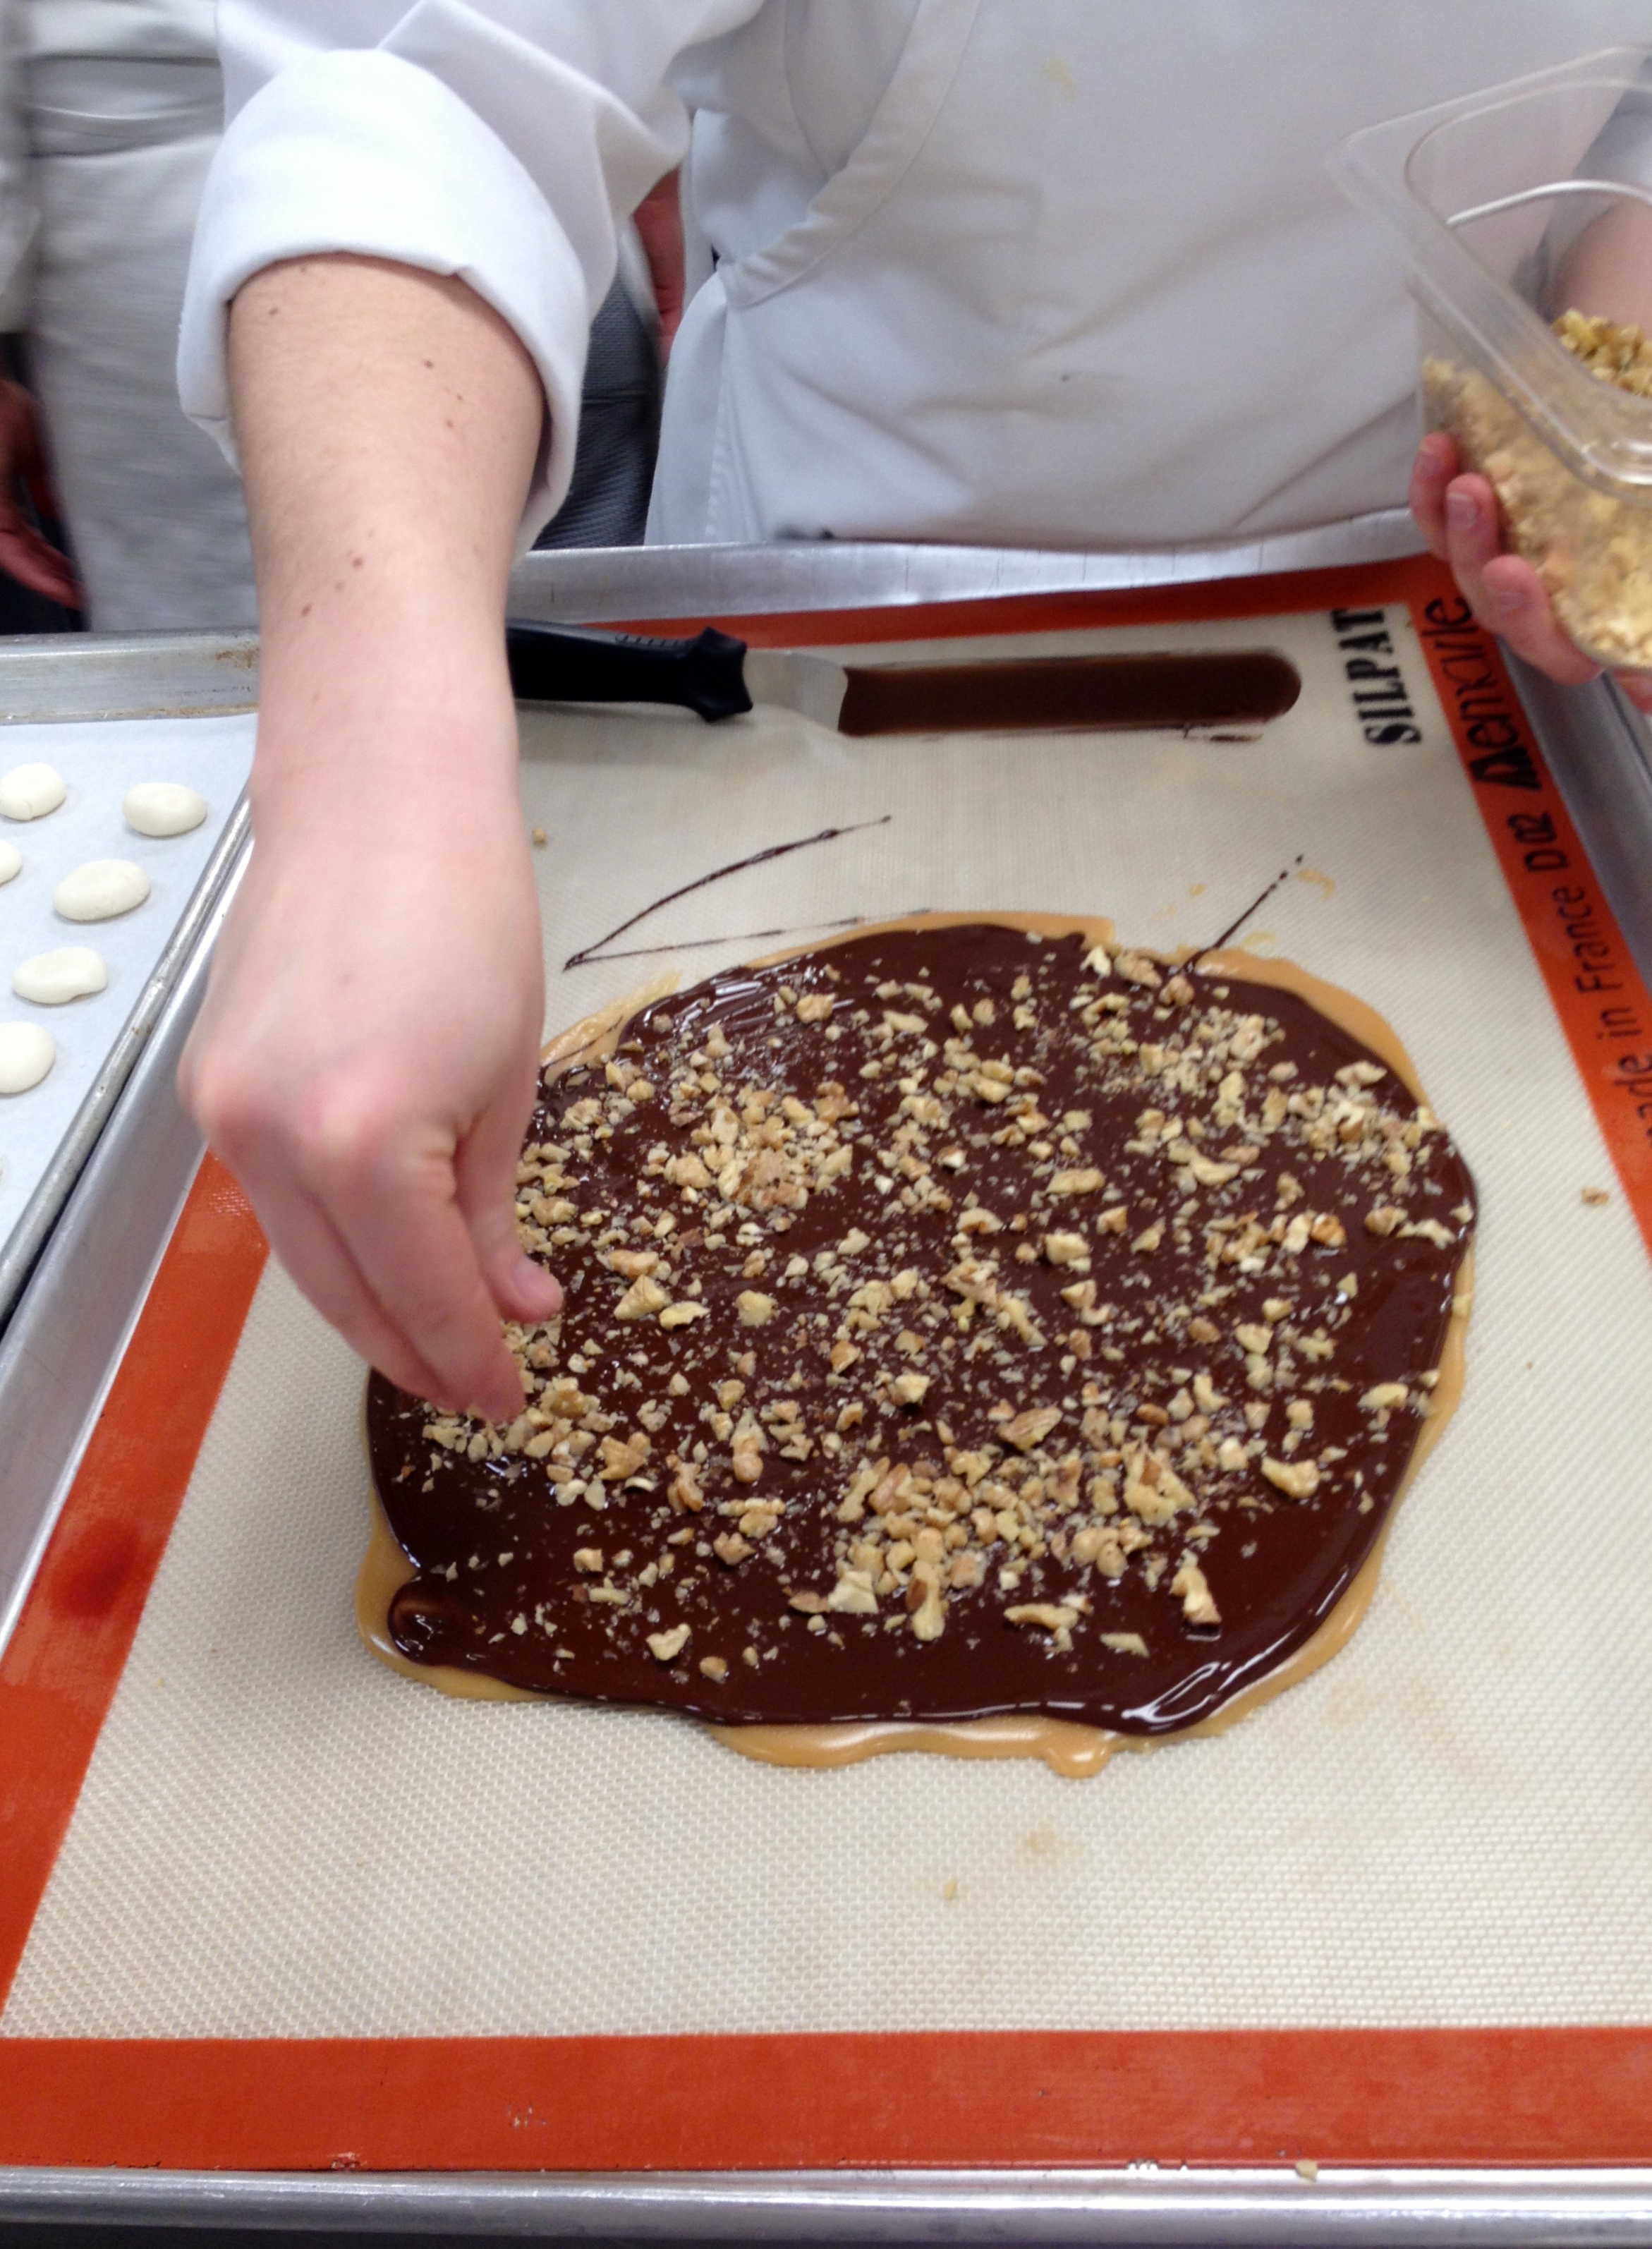
When the mixture reaches 298 degrees, take it off heat and add the vanilla extract. Stir well. Pour quickly onto the silicone baking mat and spread to desired thickness before the toffee sets. Allow to cool completely. I suggest not working the toffee too much once you pour it out — just smooth it quickly to the thickness you want. You will be breaking it into irregular pieces, anyway, so you don’t need to fuss with it too much at this point.
While the toffee is cooling, temper your chocolate.
Tempering Chocolate by the Direct Method
This shortcut is good for relatively small amounts of chocolate. You want to use bar chocolate, not chips, because chips generally have vegetable oil or other emulsifiers in them — they won’t harden back up the way you want.
Chop the chocolate into small, even pieces and place in a microwave-safe bowl. The goal is to heat the chocolate very, very slowly. Do not rush this. Microwaves, and the amount of chocolate you are using, vary so it’s not possible to give precise times for this but start slowly. Microwave for about 30 seconds — you can even reduce the power on your microwave to 50% if you know how — and stir it well. It should have melted a little. Microwave it again and stir it. Keep doing this, stirring well each time you take it out. When the chocolate is about 85% melted but still a little chunky, just stir it until the chunks melt and the chocolate is smooth. Expect this process to take about 6 turns (or more depending on how much chocolate you are tempering) in the microwave.
The most important part of this process is to not overheat the chocolate in any way. It’s easy to burn chocolate, which would be a bummer, but even more importantly, chocolate that is heated too high, even if it doesn’t burn, may not set properly. You are only heating the chocolate enough to get it melted and smooth.
Now the chocolate is ready to pour over the toffee.
Once the toffee is cool, blot it with a clean towel to remove any excess oil from the surface which would prevent the chocolate from adhering. Coat one side of the toffee with half of the chocolate (or, all of the chocolate if you are only coating one side) by pouring it on and smoothing it out with a spatula. Immediately sprinkle the toasted, salted nuts onto the chocolate. Allow the chocolate to set. How long it takes chocolate to set depends on how thick you poured the chocolate, etc., but I’d say give it a good 20 minutes to start. Turn and repeat on the other side of the toffee if you are coating both sides. Break into desired-sized pieces. Store protected from heat and humidity.
When fresh, the toffee should be crisp and crunchy to the bite. As the toffee picks up moisture from the air, it will become softer to the bite and stickier to chew.


")
")


")
")
")
")
")
")


")
")
")
")
")
")
")
")
")
")
")
")
")
")
")
")
")


")
")
")
")
")
")
")
")


")
")


")

")
")

")


")


")
")
")
")
")
")
")
")


")
")
")
")


")

")
")
")


")

")
")
")
")
")
")
")
")
")
")


")
")
")
")